Hi! I'm Stephanie, a mother of two with a DIY addiction! I blog about stylish and crafty adventures at Henry Happened. I love to create fun accessories and I'm especially fond of making bracelets (like this one and this one).
When I saw this necklace on Anthropologie, my first question was, are those paperclips? Then I thought how fun and easy it would be to make a similar necklace for WAY less than $198!
When I saw this necklace on Anthropologie, my first question was, are those paperclips? Then I thought how fun and easy it would be to make a similar necklace for WAY less than $198!
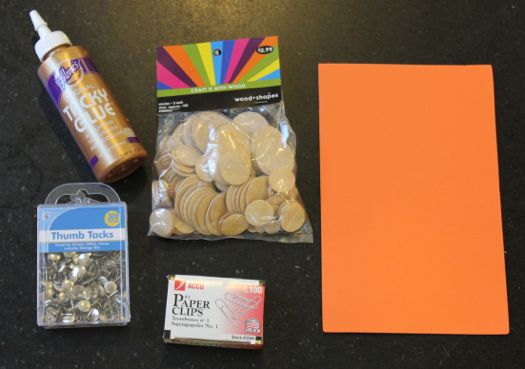
For the basic necklace - a fun project with kids - you will need:
- Round wood shapes (found at Hobby Lobby for $2.99)
- Piece of foam paper (found at Hobby Lobby for $0.80) Lots of great colors - I went with orange to match the inspiration necklace.
- Thumb tacks
- Paper clips
- Glue
To take it a step further and get closer to the inspiration product, you will also need:
- Gold spray paint
- Wire cutters
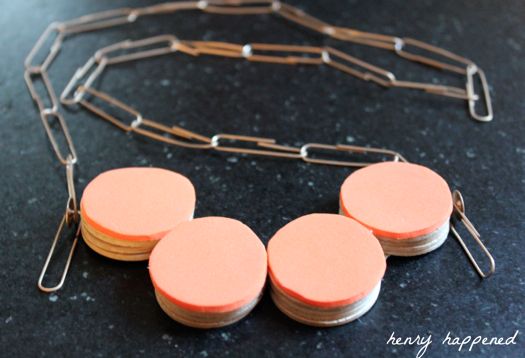
Step 1: Glue 4 of the largest size circles together. Make 4 of these stacks.
Step 2: Trace 4 circles on the foam paper. Cut out and glue these on top of the 4 wooden circles. Cutting the circles was, for me, the hardest part. I'm sure there's a cutting tool that would make this way easier. My circles are not perfect, but I rather liked them a bit irregular.
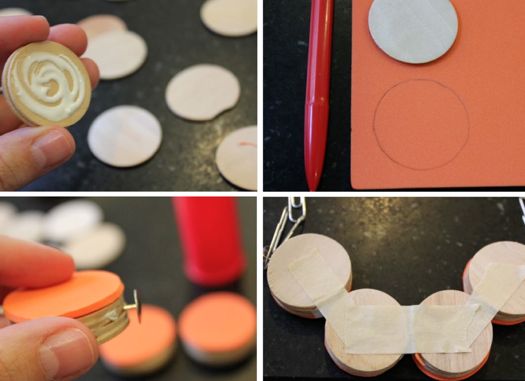
Step 2: Trace 4 circles on the foam paper. Cut out and glue these on top of the 4 wooden circles. Cutting the circles was, for me, the hardest part. I'm sure there's a cutting tool that would make this way easier. My circles are not perfect, but I rather liked them a bit irregular.

Step 3: For two of the stacks, insert a thumb tack between the 2nd and 3rd wooden circles.
Step 4: Arrange the 4 stacks - two side by side with the other two on the outside at 11 o'clock position - and glue between them. Put some tape on the back to keep everything together while the glue dries.
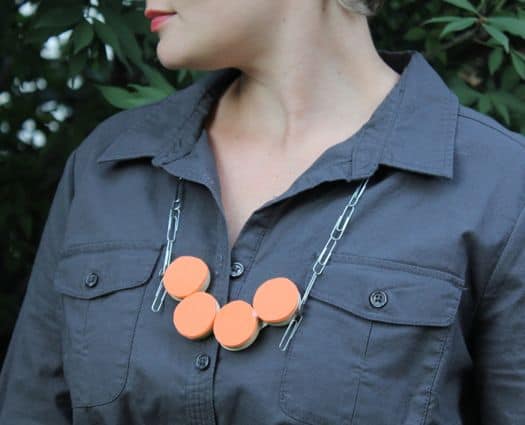
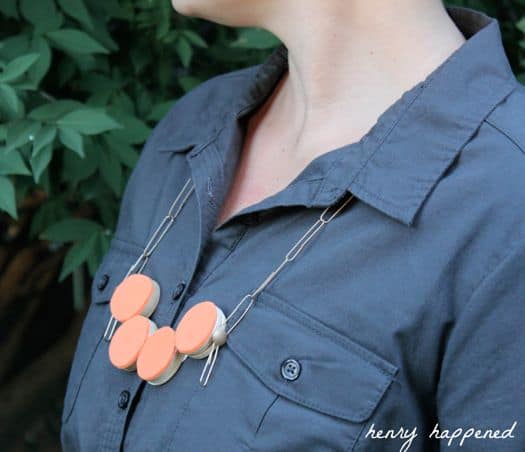
Step 5: You can stop here and make a really cute statement necklace by lacing the paper clips together.
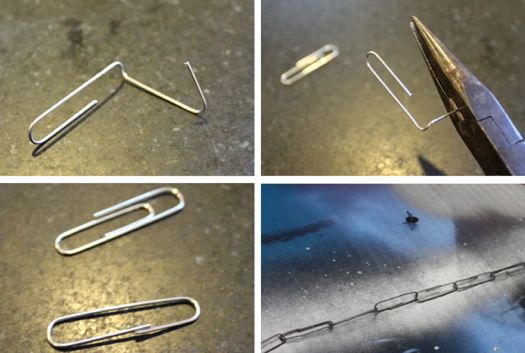
Step 6: Or you can keep going and cut off the inside loop of the paper clip with wire cutters.
Step 7: Spray paint both sides of the paper clips and thumb tacks with gold spray paint. (Yes, I used gold though my picture looks like it's silver!)
Two notes: I would recommend not linking the paper clips when spray painting as it makes it harder for the paint to reach all of the surfaces. Also, I was able to easily remove my thumbtacks, paint, and then stick them back in.
Thanks, Stephanie! Who would have thought that paper clips could make such a cute necklace? Especially one from Anthropologie!!! Your knock-off is such a whimsical piece to add to any collection! Visit Henry Happened today and see all the fun thing Stephanie has going on!!!!




$198 for a necklace made of 99 cents worth of paper clips?!! wow someone is definitely making some money. But I love this necklace!
ReplyDeletereally?? 198??
ReplyDeleteAnd THANK YOU for this tutorial, I like the necklace!!
I love Stephanie @ Henry Happened! Yet another fabulous tutorial!!
ReplyDeleteThank you so much Michelle for having me! :)
ReplyDeleteLOVE this diy!! Great job Stephanie!
ReplyDeleteThis is amazing!! I love Stephanie's DIYs!
ReplyDeleteAlways fantatic ideas from a very stylish lady!
ReplyDeleteAnne @ Domesblissity
Stephanie, you never cease to amaze me!! This is fantastic, and also why I love you!!
ReplyDeletexoxo
Lia