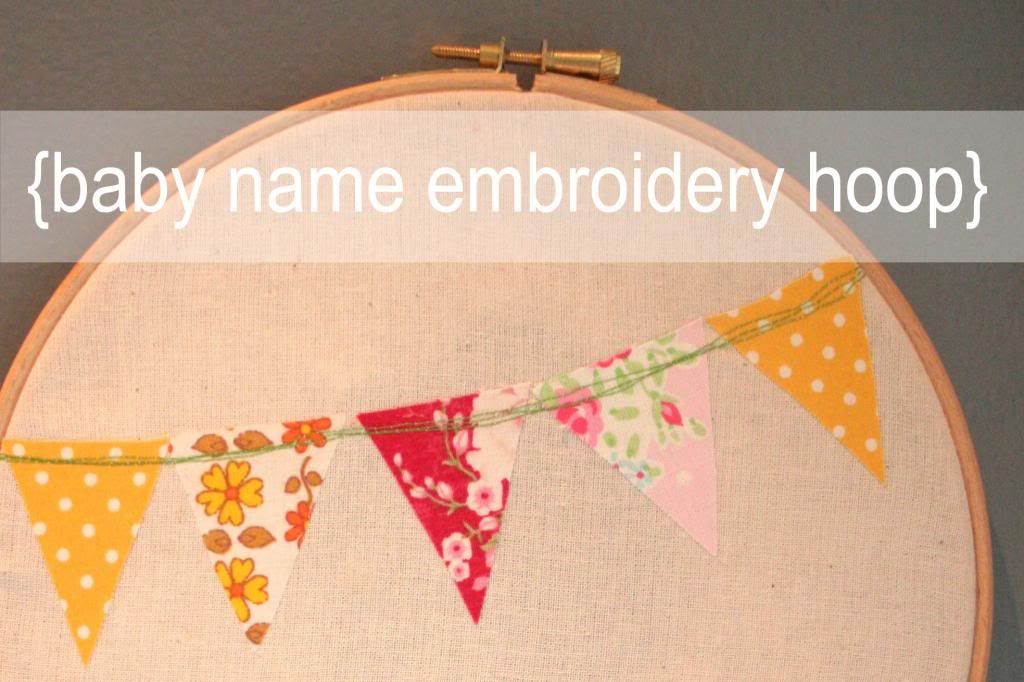
Hi there...I am Janice Armstrong and a bit of a newbie blogger! I blog over at Maddie Moes where I love to share what I sew and remake out of scrap, vintage and unused fabric. I also share a few inspirations and muse on life a little from time to time!
Of all the things I've made of recent I have loved making these hoops as they are so easy to adapt and change depending on your ideas and creativity and look so lovely resting on a shelf or hanging on a wall. I also have used them with my girls, creating pictures using free embroidery too!
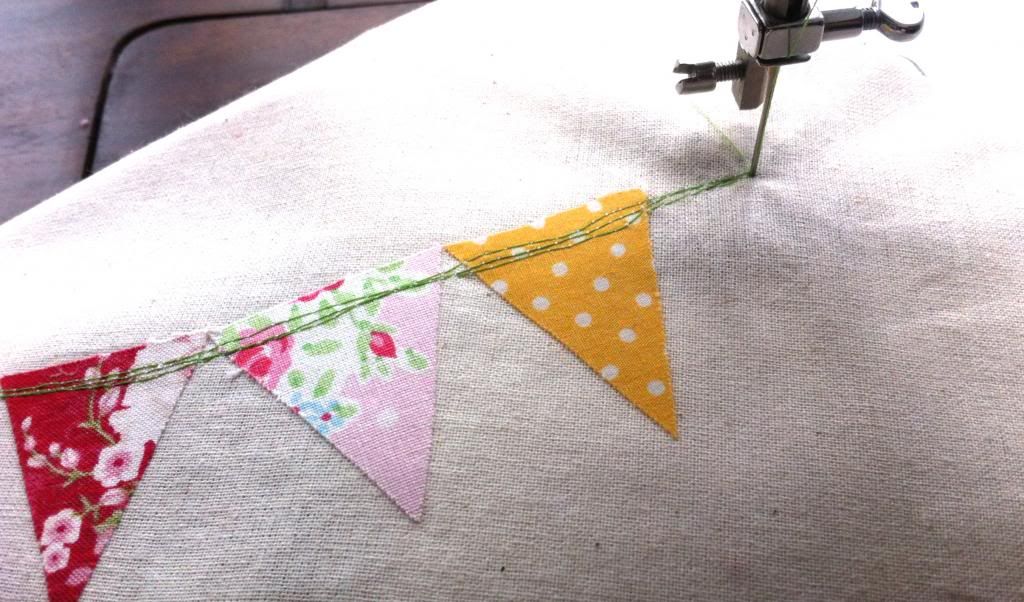
// I cut out small triangles using scraps of fabric I had already backed in Bondaweb but you can just pin down the pieces of fabric if you don't have any Bondaweb to hand.
// For free embroidery on my machine I remove the foot and place a plate over the teeth. This allows me to move the needle in any direction. I tend to go over the line of stitching 3 times to get the result I like. If you want any more information on free embroidery have a look here as a good overview of how to go about the free machine embroidery technique.
I have also used this technique in appliqué cushions as another baby gift idea which you can check out here.

// I use a small set of stampers in a typewriter text to stamp on the name...this one is for my littlest girl. You could also include date of birth or weight if you wanted!
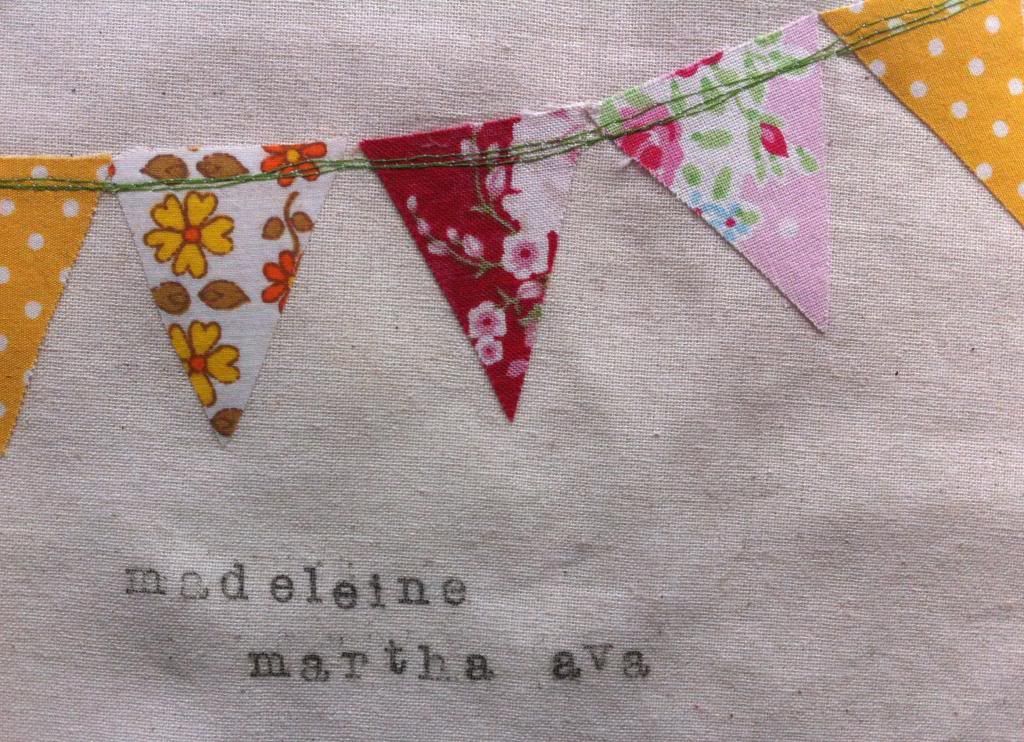
//Don't be too concerned about getting it perfect, the unevenness or quirky spacing adds to the charm!
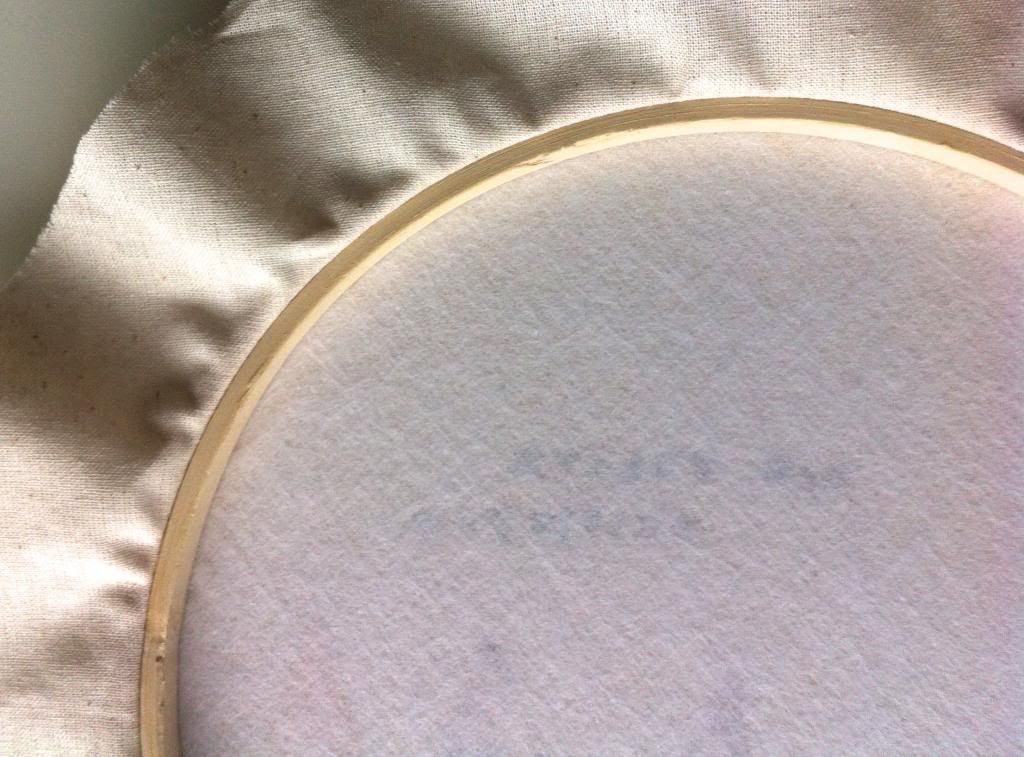
// I iron on a circular shape of interfacing to give it a bit of strength and cover the stitches on the reverse of the the hoop.
// Place it inside the hoop and tighten the grip at the top.
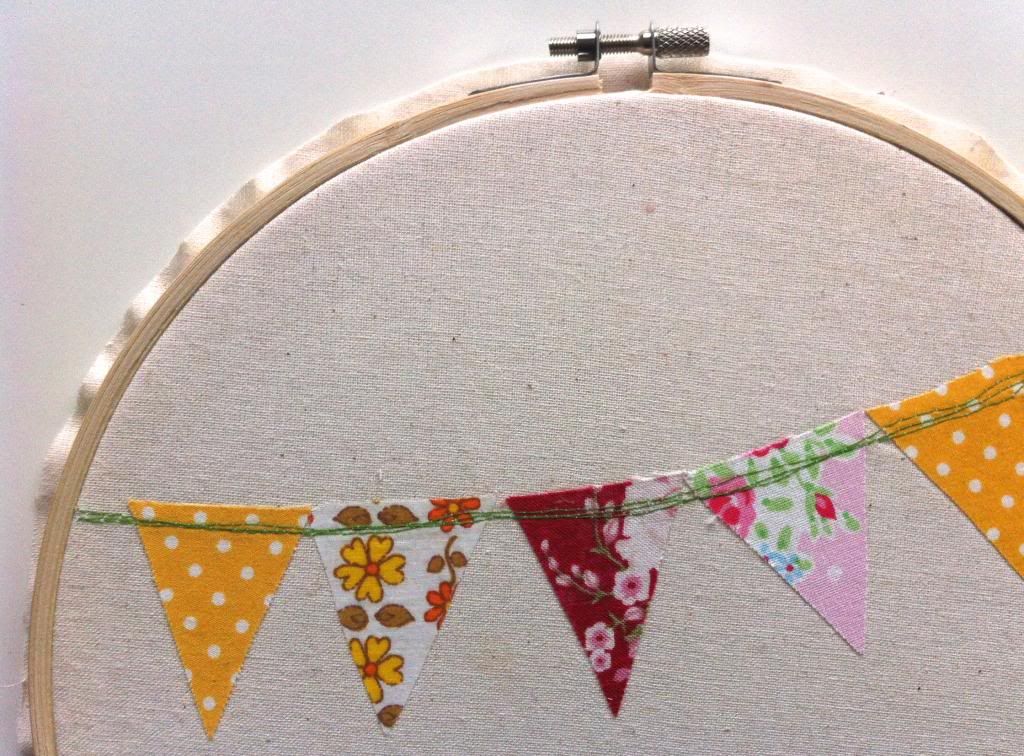
// Trim the edge of the fabric as we are going to clip it and glue it into place.
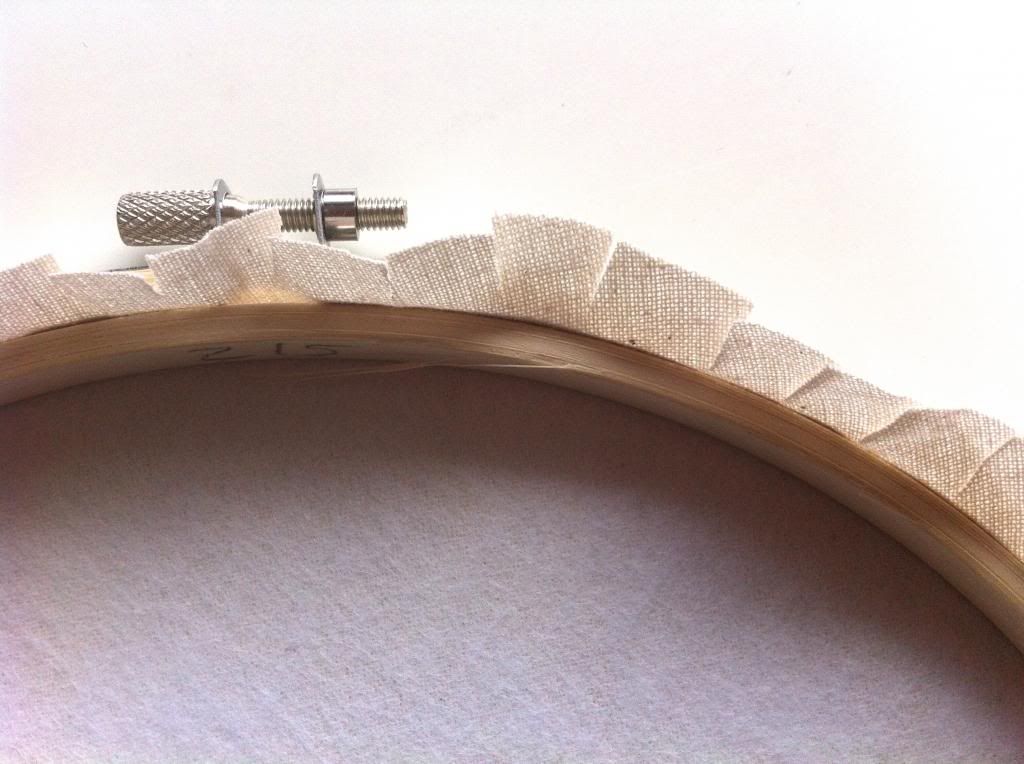
//This is what the edging of the fabric should look like after clipping...
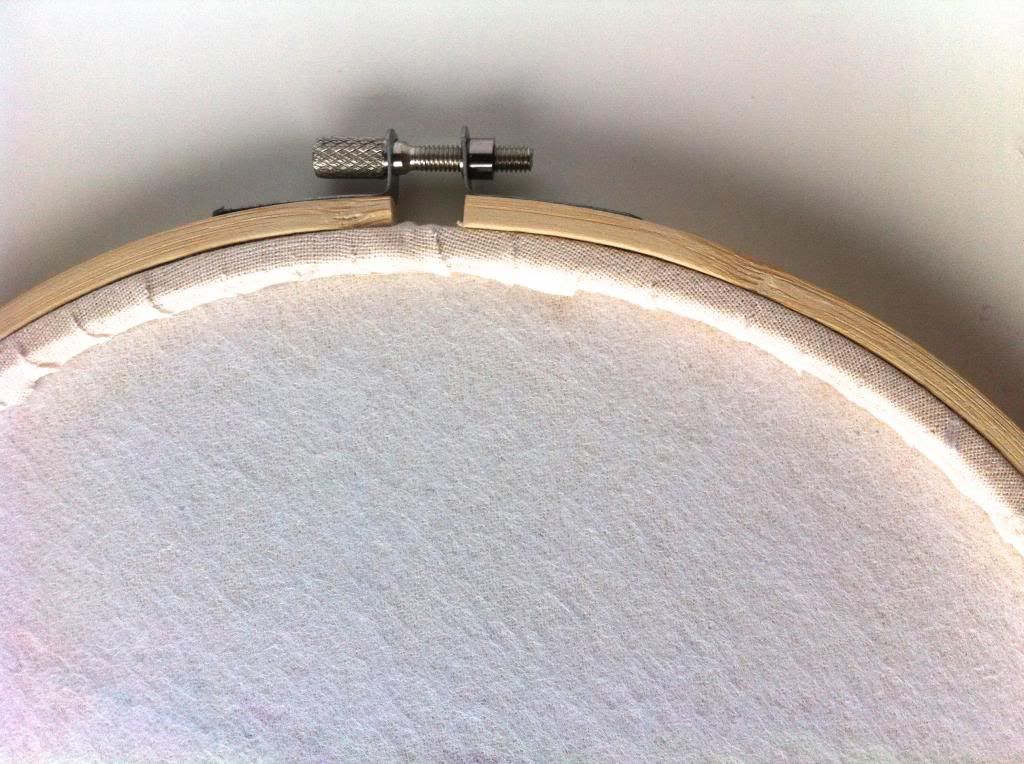
//...and then glued in place. I used a hot gun here but I have also used regular crafting glue. As the fabric is relatively light most craft glues will be strong enough to keep it in place.
// And that's it. You're done and ready to set in place!
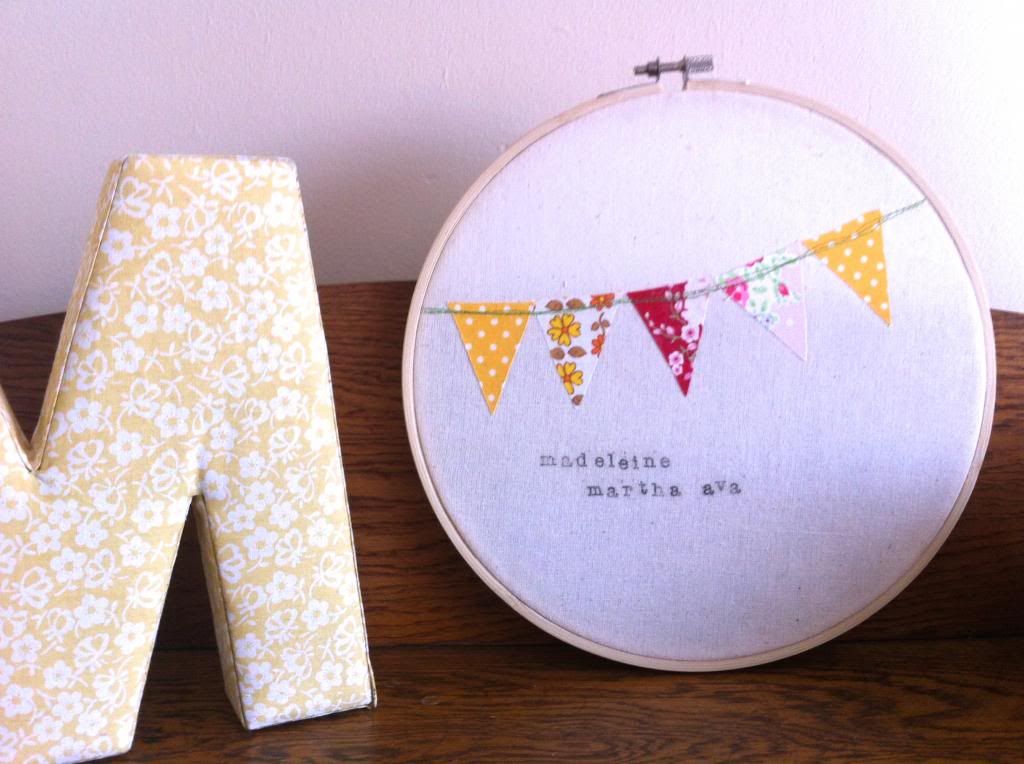
Follow along with me...
__________________________________________________
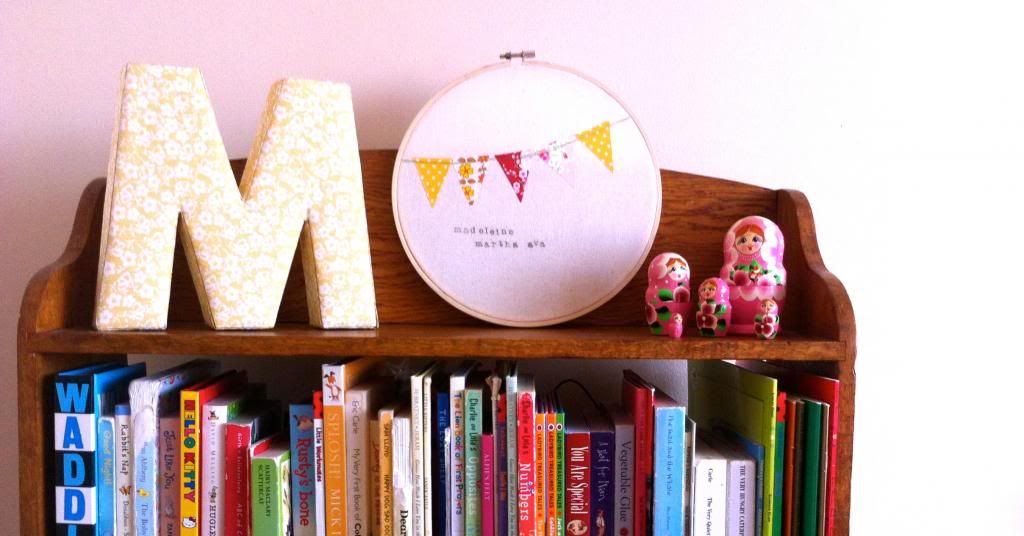
Thanks, Janice! What a sweet thing to have for your little one. I love the little pennant banner!
You can also check out all of the other posts from our Crafting for Baby series and the Crafting for Baby link party.


Aw this is so cute! I wouldn't have thought to have used an embroidery hoop. Thanks for sharing.
ReplyDeleteGayle x
http://makethriftlovelife.blogspot.co.uk